Why Finding Duct Leaks Should Be Your Top Priority
How to find leaks in ductwork is a critical skill every homeowner needs, especially when you consider that the average duct system loses around 20% to 30% of its air to holes and leaks. This energy waste translates directly into higher utility bills and uncomfortable living spaces.
Quick Methods to Locate Duct Leaks:
- Visual inspection – Look for disconnected joints, holes, or damaged insulation on exposed ductwork
- Smoke test – Use an incense stick near duct seams while your HVAC runs to spot air movement
- Hand test – Feel for escaping air around duct connections and joints
- Listen for sounds – Detect whistling or hissing noises that indicate air escaping
- Monitor energy bills – Sudden spikes often signal new leaks in your system
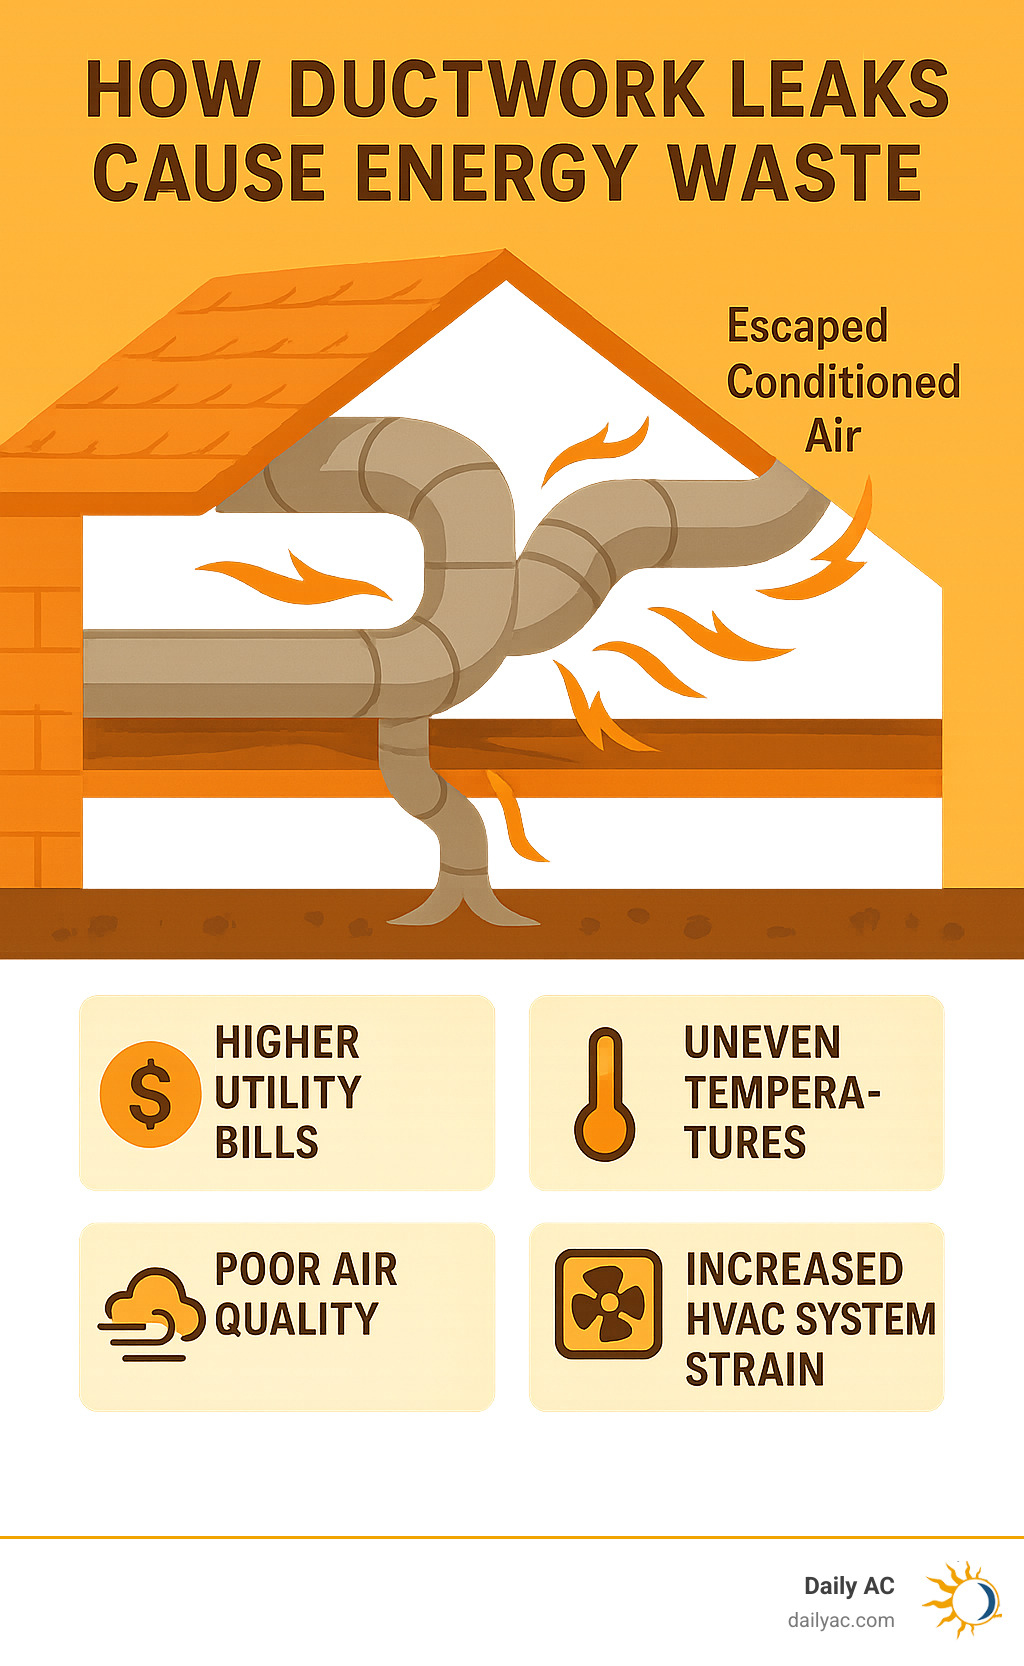
Leaky ductwork doesn’t just waste energy – it forces your HVAC system to work harder, reduces indoor air quality, and creates hot and cold spots throughout your home. In houses with forced-air heating and cooling systems, ducts distribute conditioned air throughout the house, but when they leak, that expensive heated or cooled air escapes into attics, crawlspaces, and wall cavities where it does you no good.
The good news? Most duct leaks are findable with simple DIY methods, and addressing them quickly can save you hundreds of dollars annually while dramatically improving your home’s comfort.
Telltale Signs Your Ductwork is Leaking
Your home has a way of whispering (and sometimes shouting) when something’s wrong with your ductwork. Before you learn how to find leaks in ductwork, it’s worth listening to what your house is trying to tell you. These warning signs often appear gradually, so you might not notice them right away – but once you know what to look for, they become pretty obvious.
High utility bills are usually the first clue that something’s amiss. When your heating and cooling costs start climbing without any obvious reason, it’s often because your expensive conditioned air is taking a detour into your attic or crawlspace instead of reaching your living rooms. We’re talking about losing 20-30% of your conditioned air – that’s like paying to cool the neighborhood!
Uneven temperatures throughout your home are another dead giveaway. You know the feeling – your bedroom feels like the Arctic while your living room could double as a sauna, even though your thermostat is set to a perfectly reasonable temperature. These hot and cold spots happen because leaky ducts can’t deliver the right amount of conditioned air to each room.
Poor indoor air quality and excessive dust go hand-in-hand with duct leaks. Here’s the thing – leaky ducts don’t just let your good air escape; they also suck in dusty, dirty air from places you definitely don’t want it coming from, like your attic or basement. If you’re constantly battling dust bunnies or family members are sneezing more than usual, your ducts might be the culprit.
Musty smells circulating through your home are particularly concerning. When your ductwork pulls air from damp crawlspaces or dusty attics, those unpleasant odors get distributed throughout your house. Nobody wants their living room smelling like the basement!
Pay attention to strange noises coming from your ducts when your HVAC system is running. That hissing, whistling, or rattling sound isn’t just annoying – it’s your ductwork literally telling you where air is escaping. Reduced airflow from your vents is another telltale sign. If standing near a vent feels more like a gentle breeze than the strong airflow you expect, chances are much of that air is escaping somewhere it shouldn’t.
If any of these issues sound familiar, don’t ignore them. For more detailed information about what might be happening with your system, check out our guide on Warning Signs of Aging Ductwork. The sooner you address these problems, the sooner you’ll get back to enjoying consistent comfort and reasonable energy bills.
How to Find Leaks in Ductwork: DIY Inspection Methods
Ready to turn into a duct detective? How to find leaks in ductwork doesn’t require a PhD in engineering – just a bit of patience and the right approach. Many homeowners are surprised to find they can spot obvious leaks with some basic inspection techniques.
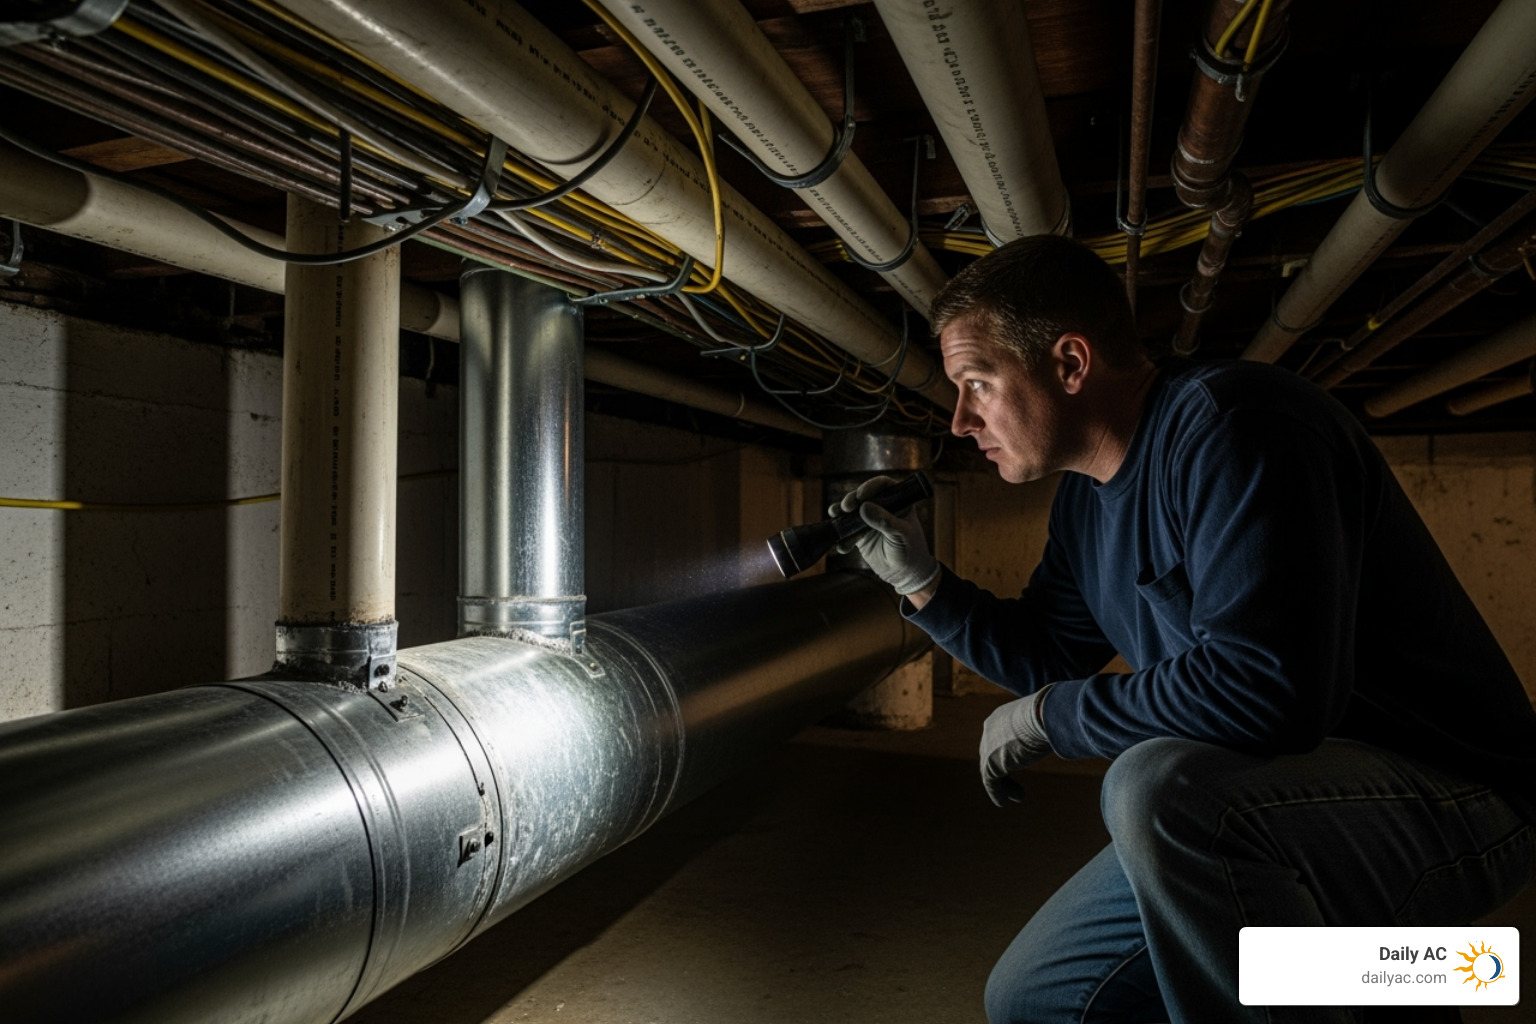
Before you channel your inner Sherlock Holmes, let’s talk safety. You’ll be venturing into spaces that might not see visitors very often. Grab some protective gear – gloves, a dust mask, and sturdy clothing are your friends here. If you’re heading into an attic, watch your step and only step on joists or use sturdy planks to distribute your weight. Nobody wants to accidentally create a new skylight in their ceiling!
Your mission will take you to the accessible ducts in three main areas. Attics are prime suspects since they’re exposed to extreme temperatures and can suffer from wear and tear. Crawlspaces present similar challenges with the added bonus of potential moisture and unwanted critters. Basements might seem more civilized, but don’t let them fool you – leaks love to hide at connections and where ducts pass through walls.
Visual Inspection: The First Step
Sometimes the most effective approach is also the simplest. Think of this as speed dating for duct problems – you’re looking for the obvious red flags that scream “I’m wasting your money!”
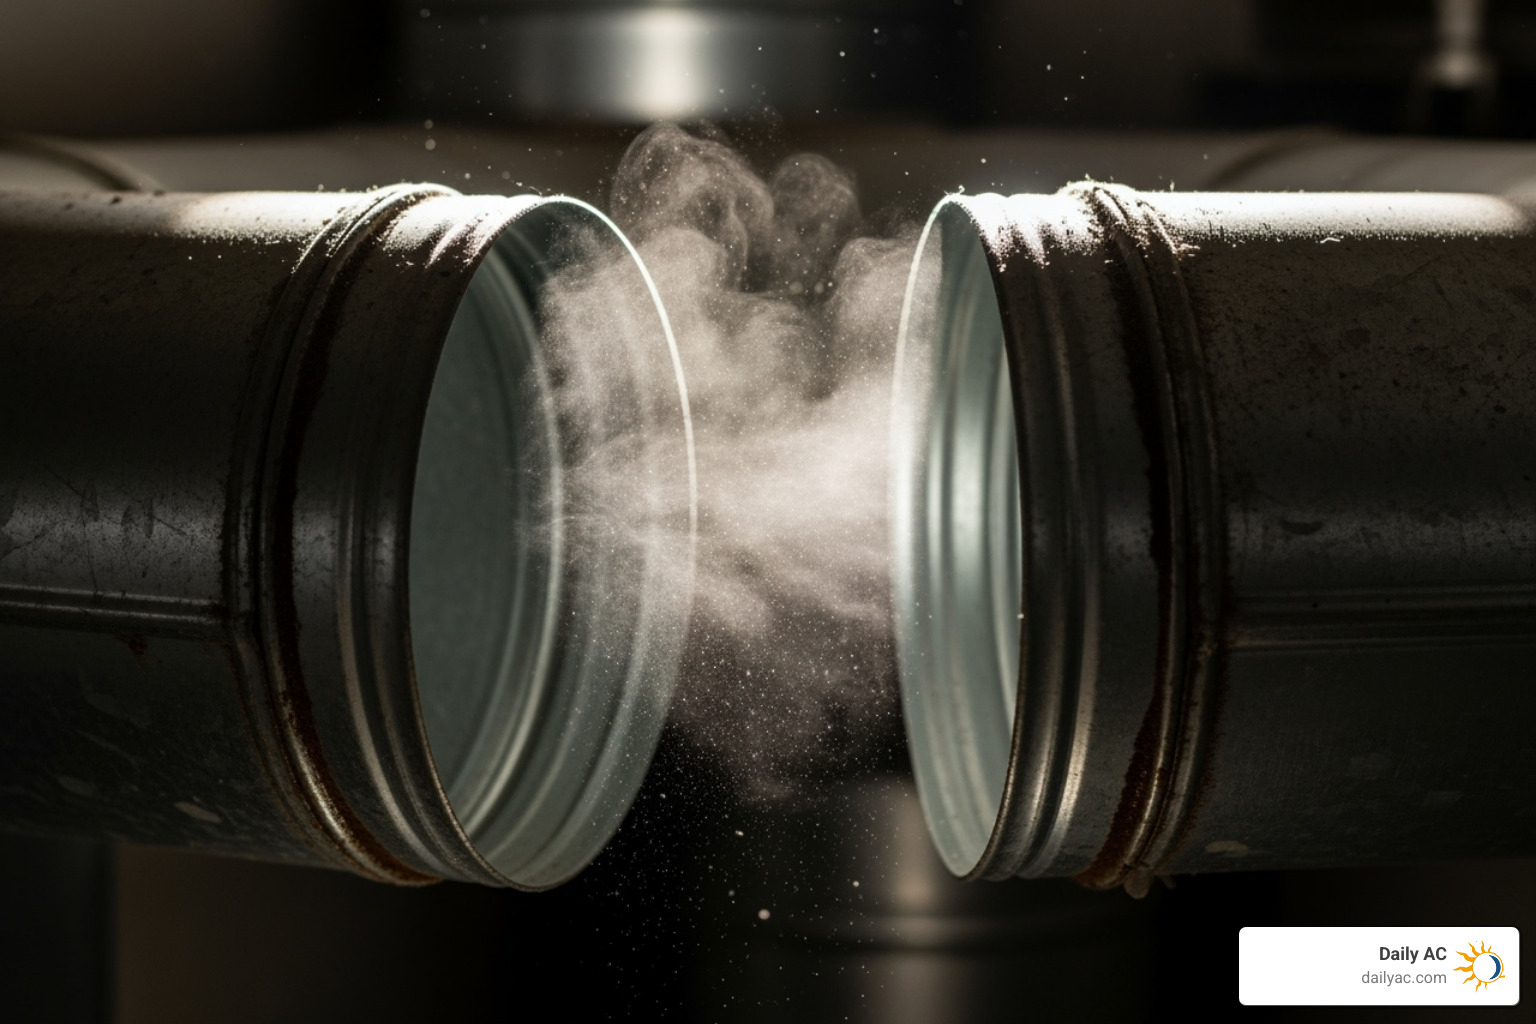
Start your hunt by examining disconnected joints – these are the drama queens of ductwork problems. Time, vibration, and house settling can cause duct sections to separate, creating gaps that practically shout their presence. You’ll also want to check for torn insulation on flexible ducts, which often signals that the inner duct has seen better days too.
Keep an eye out for tangled or crushed flex ducts that look like they’ve been through a wrestling match. These poor ducts can become kinked or crushed, creating weak points that love to spring leaks. Obvious holes or gaps might seem too simple to mention, but you’d be amazed how often homeowners overlook a clear hole in their ductwork.
Don’t forget to look for rust stains on metal ducts – they’re like breadcrumbs leading you to moisture problems that could indicate leaks or condensation issues.
Pay special attention to every connection point where ducts meet other ducts, connect to your HVAC unit, or attach to supply and return registers. These joints are where most leaks like to party.
How to Find Leaks in Ductwork with a Smoke Test
This method is like giving your ductwork a lie detector test. It’s surprisingly satisfying to watch smoke reveal secrets that your ducts have been keeping from you.
Here’s how to find leaks in ductwork using this clever technique. Grab an incense stick or invest in a smoke pencil from your local hardware store – think of it as a small investment in home comfort. Turn your HVAC system on so air is actively moving through the ducts. You need that air pressure to make the magic happen.
Now comes the fun part. Slowly move your smoking tool along all duct seams and joints, paying special attention to connections near your furnace or air handler. The smoke will tell you everything you need to know – if there’s a leak, you’ll see the smoke get sucked into the duct or blown away from it, depending on whether you’re dealing with return or supply side leaks.
As you find these sneaky air escapes, use a marker or grease pencil to mark each leak. Trust me, you’ll think you’ll remember where they all are, but after crawling around for an hour, they all start to look the same!
How to Find Leaks in Ductwork by Feeling for Air
Sometimes your hands are the best diagnostic tools in your toolkit. This tactile approach to how to find leaks in ductwork might feel a bit old-school, but it’s incredibly effective.
Make sure your HVAC system is running – you need that air pressure working for you. Then slowly move your hand along all the usual suspects: duct connections, register boots, and anywhere two pieces of ductwork come together.
You’re feeling for drafts – even the subtlest whisper of escaping air can represent significant energy loss over time. Focus on duct connections where smaller branches split off from main trunk lines, sharp turns in the ductwork, and those register boots where ducts connect to your wall, floor, or ceiling vents.
When you feel that telltale draft, mark the spot with a grease pencil. After you’ve completed your inspection, you’ll have a roadmap of exactly where your ductwork needs some attention. This hands-on method is particularly good at catching larger leaks that might not be immediately visible but are definitely stealing your conditioned air.
When to Call a Professional for Leak Detection
Let’s be honest – crawling around in dusty attics and cramped crawlspaces isn’t everyone’s idea of a good time. While the DIY methods we’ve covered are fantastic for finding obvious leaks, there comes a point where knowing how to find leaks in ductwork means knowing when to call in the pros.
Hidden ductwork is probably the biggest reason to bring in professional help. Think about it – most of your home’s ductwork is tucked away behind walls, above ceilings, or under floors where you simply can’t reach it. These sneaky hidden areas can harbor significant leaks that are silently driving up your energy bills.
Even in spaces you can access, some ductwork might be in inaccessible areas that are unsafe or impractical to reach. Professional technicians have the right safety equipment and experience to steer these challenging spaces without putting themselves (or your home) at risk.
Here’s something your DIY smoke test can’t tell you – exactly how much air you’re losing. Accurate measurement is crucial for understanding the true scope of your duct problems. You might find a few obvious leaks, but are they the tip of the iceberg? Professional testing gives you the complete picture.
When you’re dealing with major damage, disconnected sections, or what seems like a widespread problem throughout your system, it’s definitely time to call for backup. The Importance of Professional Duct Work Repair becomes clear when you’re facing complex issues that go beyond simple DIY fixes.
Pressurization and Duct Leakage Tests
Professional HVAC technicians have some pretty impressive tools in their arsenal that go way beyond incense sticks and hand tests. These scientific methods can pinpoint exactly where your energy dollars are escaping.
The blower door test is like giving your entire home a physical exam. Technicians seal up your house and use a powerful calibrated fan to either pressurize or depressurize it. By measuring how the air pressure responds, they can identify overall air leaks throughout your home, including those sneaky duct leaks. You can see how this works in detail with this Professional pressurization test guide.
Even more specific is the duct leakage test, which focuses solely on your ductwork. This test uses specialized equipment to pressurize just your duct system and measures exactly how much airflow is needed to maintain that pressure. It’s like taking your ducts’ blood pressure – it gives you a precise measurement of how “leaky” your system really is.
These tests follow strict guidelines and provide quantifying leakage data that helps prioritize which repairs will give you the biggest bang for your buck. The Duct leakage test requirements ensure consistent, reliable results that you can trust.
Advanced Diagnostic Tools
Technology has come a long way from just feeling around for drafts. Professional technicians now use some seriously cool gadgets that would make any home inspector jealous.
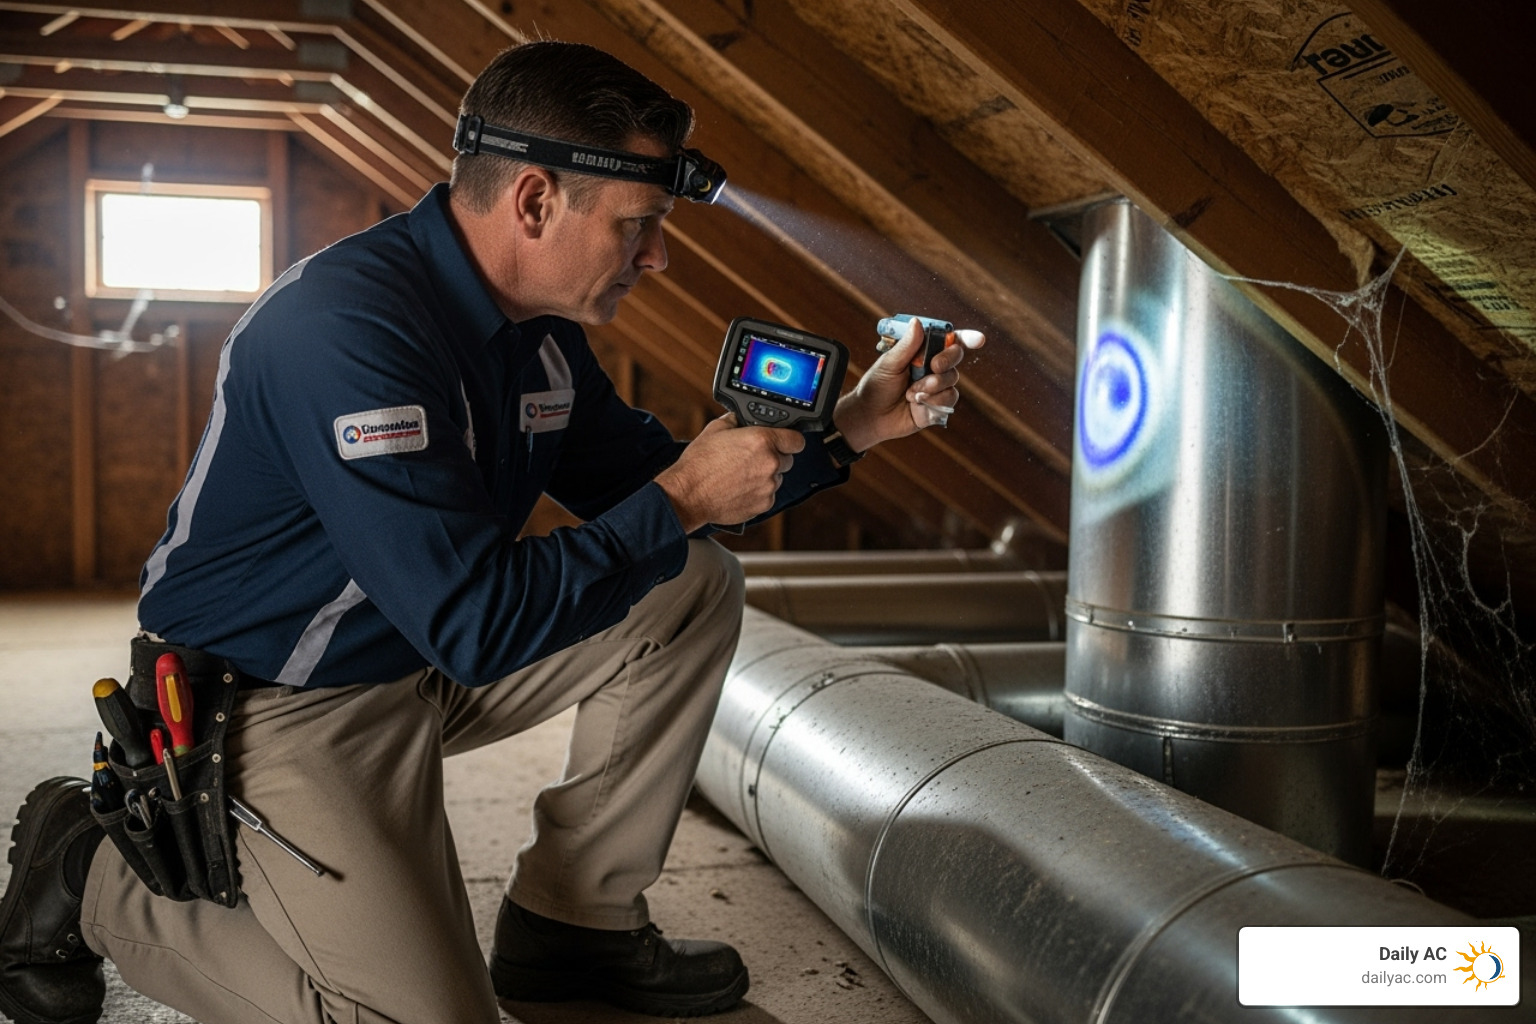
Infrared thermography is like having superhero vision for your ducts. These special cameras can see temperature differences that are completely invisible to your eyes. When conditioned air escapes through a leak, it creates tiny temperature variations on the duct surface. The infrared camera picks up these temperature differences and shows exactly where your expensive heated or cooled air is making its great escape.
Ultrasonic leak detection might sound like science fiction, but it’s very real and incredibly effective. This equipment can actually “hear” the high-frequency sounds that escaping air makes as it whooshes through even tiny cracks and gaps. These sounds are way beyond what human ears can detect, but the ultrasonic equipment picks them up loud and clear, pinpointing leak locations with amazing precision.
These advanced tools allow professionals to find leaks that would be impossible to detect any other way, ensuring that no energy-wasting culprit goes unnoticed in your ductwork system.
Why You Can’t Ignore Duct Leaks
Here’s the thing about duct leaks – they’re like that slow drip from a faucet that you keep meaning to fix. You might think it’s no big deal, but that constant waste adds up fast. When you’ve learned how to find leaks in ductwork, the next step is understanding why fixing them should be at the top of your home improvement list.
Think about it this way: you wouldn’t leave your front door wide open while running your air conditioner, right? Well, leaky ducts are doing essentially the same thing – letting your expensive conditioned air escape where it does you absolutely no good.
The impact goes way beyond just wasted energy. We’re talking about your comfort, your health, and even the lifespan of your HVAC system. If you’re already dealing with airflow issues, addressing leaks is often the first and most effective solution. For a complete picture of airflow problems, check out our guide on Solutions for Poor Airflow from Ductwork.
The Consequences of Leaky Ducts
Let’s be honest about what happens when you put off fixing those leaks. The consequences might surprise you with how quickly they add up.
Wasted energy and higher bills hit you where it hurts most – your wallet. 20-30% of conditioned air we mentioned earlier? That’s air you’re paying to heat or cool that never makes it to your living spaces. Your system keeps running longer and working harder to reach the temperature on your thermostat, and those extra hours show up crystal clear on your monthly utility bill.
HVAC system strain and shorter equipment lifespan happen because your poor system is basically running a marathon when it should be taking a leisurely walk. When air escapes through leaks, your furnace or air conditioner has to compensate by running longer cycles. This constant overwork leads to more frequent breakdowns, expensive repairs, and ultimately means you’ll be shopping for a new system years earlier than you should.
Poor air quality becomes a real concern when return ducts start pulling in air from places you definitely don’t want it coming from. We’re talking about dusty attics, damp crawlspaces, and wall cavities filled with insulation particles. That contaminated air gets mixed with your clean, conditioned air and distributed throughout your home.
Dust, allergens, and pollutants hitchhike their way into your living spaces through these unwanted air pathways. If you’ve noticed more dust settling on your furniture or family members sneezing more often, leaky ducts might be the culprit bringing in pollen, mold spores, and other irritants.
Mold growth risk increases when moist, unconditioned air enters your ductwork. These damp conditions create the perfect breeding ground for mold and mildew inside your system, leading to musty odors and potential health concerns that nobody wants to deal with.
The Benefits of Sealing Your Ducts
Now for the good news – and trust me, it’s really good news! Sealing your ducts is like giving your entire home comfort system a major upgrade.
Lower energy costs are usually the first benefit homeowners notice. When your conditioned air actually makes it to where it’s supposed to go, your system doesn’t have to work nearly as hard. The U.S. Department of Energy estimates that properly sealing and insulating ducts can save homeowners up to $140 per year on energy bills. That’s money back in your pocket, month after month.
Improved home comfort and even temperatures mean saying goodbye to those frustrating hot and cold spots. You know the ones – that bedroom that’s always too warm or the living room that never seems to cool down properly. When your ducts are sealed, every room gets the conditioned air it deserves.
Better indoor air quality happens naturally when you prevent contaminated air from sneaking into your system. Your family breathes cleaner, healthier air because you’ve eliminated those unwanted pathways that were bringing in dust, allergens, and other pollutants.
Extended HVAC life is like getting bonus years from your heating and cooling equipment. When your system operates efficiently without constantly compensating for lost air, it experiences much less wear and tear. This means fewer repair calls and years more service from your investment.
For detailed information on all these advantages, the Benefits of Duct Sealing from ENERGY STAR® provides comprehensive insights into why this improvement is so impactful for homeowners.
Frequently Asked Questions about Duct Leaks
We get these questions all the time from homeowners who’ve just learned how to find leaks in ductwork and are ready to take action. Let’s tackle the most common concerns that come up when folks find they’ve got leaky ducts.
What materials are best for sealing duct leaks?
Here’s something that surprises almost everyone: that roll of silver “duct tape” in your garage? It’s actually terrible for sealing ducts! I know, the irony is real. The adhesive dries out and peels off over time, especially when it faces the temperature swings your ductwork experiences.
Mastic sealant is your best friend for duct sealing. This thick, gooey substance looks like paint but creates an incredibly durable, airtight seal that actually flexes with your ducts as they expand and contract. It’s perfect for larger gaps and joints, and you can apply it with a brush or caulking gun. The stuff lasts for years and really gets the job done.
For smaller holes and seams, foil tape (also called metal tape or HVAC tape) works beautifully. This isn’t your regular tape – it’s a strong, self-adhesive aluminum tape specifically designed for HVAC work. Just make sure it’s UL-listed, which means it meets safety and performance standards.
When you’re dealing with bigger gaps – anything over a quarter inch – fiberglass mesh tape paired with mastic sealant gives you extra reinforcement. Apply the mesh first, then cover it with mastic for a rock-solid seal.
One pro tip: always clean the duct surface thoroughly before applying anything. Dust and grime prevent proper adhesion, and nobody wants to redo this job!
How much energy do leaky ducts really waste?
The numbers might shock you, but they’re backed by solid research. About 20% to 30% of the air moving through your duct system simply vanishes through leaks, holes, and poorly connected joints. That’s like paying for a full tank of gas but only getting to use two-thirds of it.
Here in South Florida, where our air conditioners work overtime, leaking ducts can account for up to 35% of your home’s total energy burden. Think about it this way – if your AC runs for an hour, you might only get 40 minutes of actual cooling inside your home. The rest is cooling your attic or crawlspace, which does absolutely nothing for your comfort.
This lost air doesn’t just disappear into thin air (pun intended). It escapes into unconditioned spaces like your attic, basement, or inside wall cavities. Your poor HVAC system keeps running longer and working harder, trying desperately to reach that thermostat setting while fighting a losing battle against all those leaks.
The good news? Fixing these leaks is one of the most cost-effective ways to slash your energy bills and reduce your environmental footprint.
Can I seal the leaks myself or should I hire a pro?
This is probably our most asked question, and the honest answer is: it depends on what you’ve finded during your detective work.
DIY sealing works great for minor, accessible leaks that you can easily reach. If you’ve found small holes, loose seams, or slightly disconnected joints in your basement, garage, or other easily accessible areas, grab some mastic sealant or foil tape and go for it. You’ll save money and feel pretty accomplished afterward.
But there are definitely times when calling a professional makes the most sense. Major damage like large holes, completely disconnected sections, or widespread deterioration needs expert attention. Hidden leaks behind walls, ceilings, or floors require specialized equipment to locate and seal properly.
Inaccessible areas can be tricky too. Attics and crawl spaces aren’t just challenging to work in – they can be downright dangerous without proper safety gear and experience. Professionals know how to steer these spaces safely and efficiently.
Here’s the thing about comprehensive sealing: a professional can perform a complete duct leakage test to identify every single leak in your system, including ones you might have missed. They ensure your entire system becomes airtight, not just the obvious problem spots.
For extensive ductwork issues in our service areas, our experienced team can help. Check out our specialized Duct Work Repair Fort Lauderdale FL services to see how we can restore your system’s efficiency.
The bottom line? Start with what you can safely handle yourself, but don’t hesitate to call in the pros when the job gets complex. Your comfort and energy savings are worth doing it right.
Get Your Ducts Inspected and Sealed
Now that you’ve mastered how to find leaks in ductwork and understand the real impact these sneaky air escapes have on your comfort and wallet, it’s time to take action. Think of it this way: you’ve done the detective work, and now it’s time to solve the case!
While the DIY methods we’ve covered are fantastic for spotting obvious problems and handling simple repairs, there’s something to be said for bringing in the professionals to ensure every last leak gets the attention it deserves. It’s like the difference between cleaning your own house and having a professional deep-cleaning service come through – both have their place, but one is definitely more thorough.
Professional duct inspection and sealing brings a level of precision that’s hard to match with DIY methods alone. Professionals have specialized equipment to locate hidden leaks behind walls and in tight spaces you might never access. They can also measure exactly how much air you’re losing and verify that their repairs actually solve the problem.
The benefits of getting your ducts professionally sealed go way beyond just plugging a few holes. You’re investing in energy savings that will show up in your monthly bills for years to come. Your HVAC system will thank you by running more efficiently and lasting longer. Most importantly, your family will enjoy healthier indoor air and consistent comfort throughout every room in your home.
For homeowners in Davie, Plantation, and Miramar, FL, you don’t have to tackle this project alone. The expert team at Daily AC understands how Florida’s climate puts extra demands on your ductwork, and we’re committed to restoring your HVAC system’s peak performance with the same friendly, quality-focused service that sets us apart.
Ready to stop throwing money out the window (or should we say, out the ducts)? Contact us today to schedule your duct work services in Davie, FL and start enjoying the comfort and savings you deserve.


